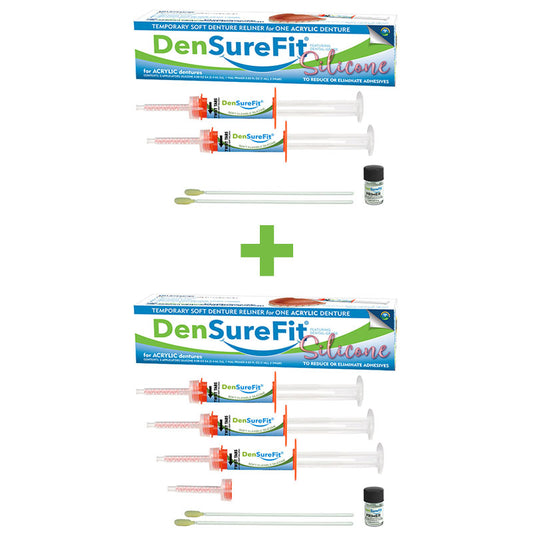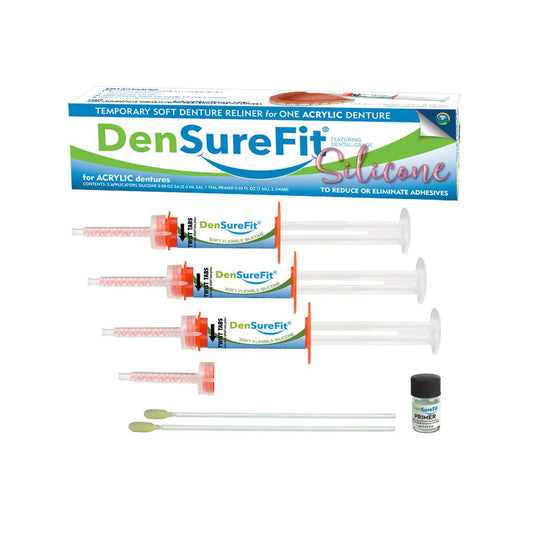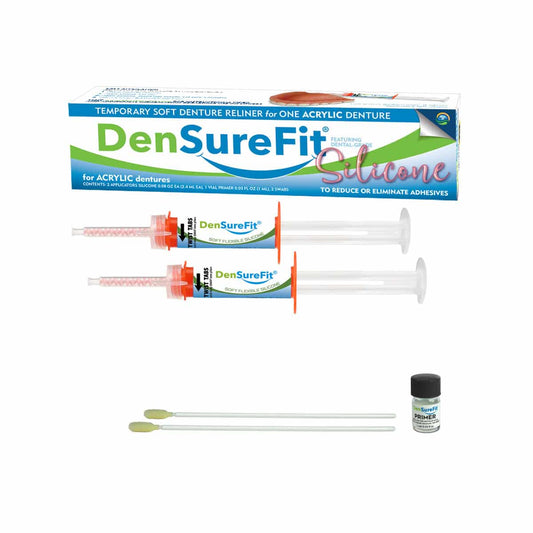
Dentist-grade soft silicone denture reline material
Follow Instructions Exactly for a Successful Reline
Please review all instructions carefully before attempting your reline. The contents of the kit are intended for one denture plate.
Upper Denture Reline Instructions
Step 1: Clean, Rinse, and Dry Your Denture
If you don’t clean and dry your denture thoroughly before application, DenSureFit will not stick!
For best results, wash your denture with dishwashing soap, dry it with a clean towel, and let it air dry thoroughly.
NOTE
Adhesives (especially waterproof types) can leave a residue on your denture. It’s essential to clean off this “invisible” residue before starting your reline. Denture cleanser is NOT sufficient for prepping your denture before relining.
PRO TIP
After washing/drying your denture, wipe the inside with rubbing alcohol on a cotton ball until it is squeaky clean.
Step 2: Apply Primer to the Denture
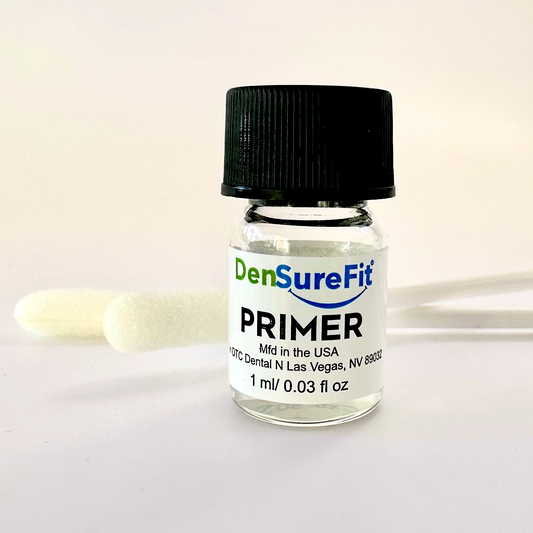
Primer is the bonding agent that allows the silicone to adhere to the hard acrylic denture surface. Without primer, the silicone cannot stick.
IMPORTANT
Primer needs to be applied to the entire interior of the denture, including ON the ridges and OVER the ridges (1/4 inch), to get the silicone to wrap around the entire denture. This creates the seal and suction to keep your denture in place. Without proper primer coverage, the silicone will not stay put and will lift prematurely (Review the Anatomy of a Denture).

- Open your primer bottle and quickly dip your swab in and out of the bottle one time only. The longer the swab is immersed, the more primer will be absorbed and wasted.
- Close your primer bottle tightly.
- Use the primer-covered swab to gently paint your denture with primer in a thin, even coat.
- Starting with the inside top perimeter of your denture, cover every spot on the denture ridge, slightly over the ridge on the front, wall, palate, trough, and along the back edge (as indicated by the blue area in the photo). Missed spots may cause the silicone to lift.
- Grab your timer; let the primer dry for two minutes.
Step 3: Activate Silicone Applicator
RememberDo NOT activate the applicator OR press the plunger until you are ready to apply the silicone to your denture.
- You have approximately 15 seconds to work with the silicone before it starts setting up.
- Hold the orange base of the applicator securely in your non-dominant hand, then twist the clear winged tabs with your other hand IN THE DIRECTION OF THE BLACK ARROW (clockwise) until you hear/feel them snap into place. (If silicone squishes out the sides, you have twisted the tabs incorrectly! Discard and use a new applicator.)

Step 4: Apply Silicone to Your Denture
Apply three lines of silicone to the palate and the remainder in the trough.
IMPORTANT!
Work quickly to get the silicone onto your denture and into your mouth in about 15 seconds.
The lines do not have to be neat, pretty, or perfect. Just get it onto your denture and into your mouth QUICKLY so the silicone does not start setting up outside your mouth. You need it to spread in your mouth in its most fluid state to get a proper impression for your best fit.
![]()

Step 5: Seat Your Denture
Have your timer ready; timing is critical!
- Immediately insert your denture into your mouth with your thumb (index finger over your nose). Give your thumb a couple of nice sucks to suction your denture into your suction spot.
- Start your timer and firmly hold your denture in your suction spot with your thumb for four minutes. (DO NOT remove your denture during the four minutes!)


For PARTIALS
Gently snap the partial into the mouth. DO NOT press or bite down! Look in the mirror to ensure the natural teeth and partials are even and your partial is in the right spot. Gently touch the upper and lower teeth in a natural biting position until they make even contact, then STOP! Do not bite down any further. Relax your jaw; let the silicone cure for four minutes.
Step 6: Assess Fit
Remove your thumb. Keep your denture in your mouth and assess how it feels. Remove your denture and examine the silicone inside to determine if you need a Snug-Up application.
- Examine the silicone on your palate. You’ll need to ensure your foundation is good before moving on. Did the silicone make an accurate impression of the roof of your mouth? If so, you can proceed. But if you see humps where lines of silicone did not spread thinly and evenly on your palate, this is an issue. If this is your case, do NOT do a Snug-Up. You will need to remove the silicone and start fresh. Contact DenSureFit for assistance.
- Examine where the silicone ended on the wall. If the silicone did not reach the top of your wall to create “flashing” (excess overlap) that extends up and over the ridge, your voids are not yet filled. Proceed to the Snug-Up Application. (Ideally, you want even flashing of the silicone on the ridge of your denture. Flashing indicates that voids are filled and provides an excellent seal. Even though flashing is desirable, it is not always necessary for a great fit.)
Remember, your ideal fit can only happen once all your voids are filled. These voids must be filled with the denture properly seated in your suction spot. When this happens, an accurate impression of your mouth is created, and the denture can then STAY SUPPORTED up in your suction spot.
Is Your Denture Snug?
If your denture stays snug and comfy, you are done! Don’t wear your newly relined denture for two hours; it needs to finish curing outside your mouth in a glass of water or cleaner.
Is Your Denture Not Snug?
Don’t worry if your denture does not feel snug—you are normal! Most wearers with medium looseness require two silicones for complete snugness. If they’re significantly loose, a third silicone application is likely needed.
PRO TIP
DenSureFit silicone is BUILD-ABLE! It will adhere to itself WITHOUT primer. As your denture loosens over time, you may apply more silicone to your previous layer using the Snug-Up application. You DO NOT need to remove and reapply your previous layer as long as it’s in good condition and not lifting.
Ensure your previous silicone layer is perfectly clean and dry before adding a new layer, or it will not adhere properly.
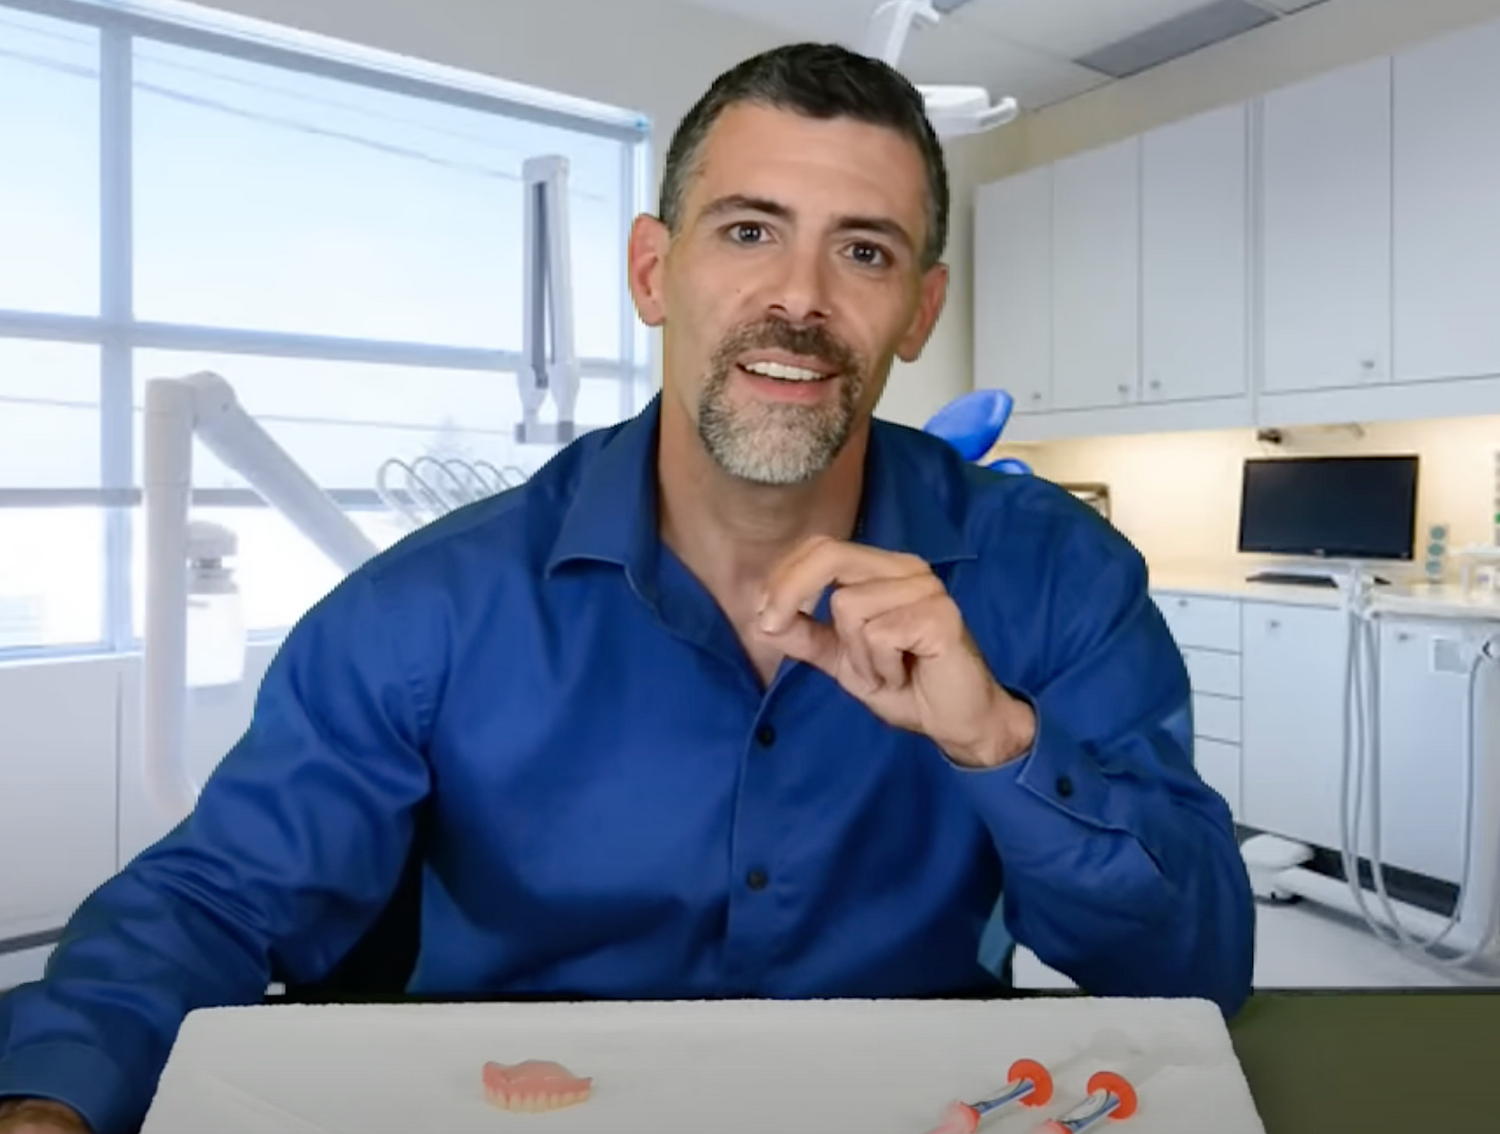
Video
Upper Denture Application Instruction for DenSureFit
Need Help?
Email us! HELP@densurefit.com
Call us! 844-682-3368 Mon-Fri (8 am-5 pm, Pacific Standard Time)
Click here to read Frequently Asked Questions.
We believe DenSureFit will provide you with the best fit you’ve ever had with your dentures.
We are 100% committed to your success.
-
CAUTION
Do not use immediately following extractions. Consult your dentist before using!
-
Acrylic Dentures
DenSureFit is for use on ACRYLIC dentures. Not for use on alternative denture materials.
-
Applying over a soft professional reline?
Please follow the instructions on the “Upper Denture Snug-Up Application” page. After Step 4: look for "Variation for Applying PRIMER Over Soft Professional Reline."
Click here. -
Do you have a partial denture?
Pay close attention to the variation when seating a PARTIAL.
See "Upper Denture Reline Instructions" page, below "Step 5: Seat Your Denture."
Click here.
DenSureFit Featured Collection
-
Lower+Upper Denture Reline Kit
Regular price $91.98Regular priceUnit price per$114.98Sale price $91.98Sale -
Upper Denture Reline Kit
Regular price $64.99Regular priceUnit price per -
Lower Denture Reline Kit
Regular price $49.99Regular priceUnit price per -
Extra Primer
Regular price $20.00Regular priceUnit price per$20.00Sale price $20.00


