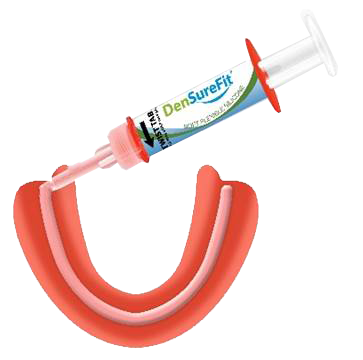
Dentist-grade soft silicone denture reline material
Follow Instructions Exactly for a Successful Reline
Please review all instructions carefully before attempting your reline. The contents of the kit are intended for one denture plate.
Lower Denture Reline Instructions
Have an UPPER and LOWER?
Do not attempt to reline your lower plate until your upper fits properly. Always reline your upper FIRST and then your lower. Do NOT reline them both at the same time.
Step 1: Clean, Rinse, and Dry Your Denture
If you don’t clean and dry your denture thoroughly before application, DenSureFit will not stick!
For best results, wash your denture with dishwashing soap, dry it with a clean towel, and let it air dry thoroughly.
NOTE
Adhesives (especially waterproof types) can leave a residue on your denture. It’s essential to clean off this “invisible” residue before starting your reline. A denture cleanser is NOT sufficient for prepping your denture before relining.
PRO TIP
After washing/drying your denture, wipe the inside with rubbing alcohol on a cotton ball until it is squeaky clean.
Step 2: Apply Primer to the Denture
Primer is the bonding agent that allows the silicone to adhere to the hard acrylic denture surface. Without primer, the silicone cannot stick.
IMPORTANT
The primer must be applied to the entire interior of the denture, including ON the ridges and OVER the ridges (1/4 inch), to get the silicone to wrap around the entire denture. This creates the seal and suction to keep your denture in place. Without proper primer coverage, the silicone will not stay put and will lift prematurely (Review the Anatomy of a Denture).
- Open your primer bottle and quickly dip your swab in and out of the bottle one time only. The longer the swab is immersed, the more primer will be absorbed and wasted.
- Close your primer bottle tightly.
- Use the primer-covered swab to gently paint your denture with primer in a thin, even coat.
- Prime the entire inside of the lower denture, also on the ridge, and slightly over the top of the ridge.
- Grab your timer; let the primer dry for two minutes.
Step 3: Activate Silicone Applicator
Remember
Do NOT activate the applicator OR press the plunger until you are ready to apply the silicone to your denture.
- You have approximately 15 seconds to work with the silicone before it starts setting up.
- Hold the orange base of the applicator securely in your non-dominant hand, then twist the clear winged tabs with your other hand IN THE DIRECTION OF THE BLACK ARROW (clockwise) until you hear/feel them snap into place. (If silicone squishes out the sides, you have twisted the tabs incorrectly! Discard and use a new applicator.)

Step 4: Apply Silicone
Apply one applicator of silicone to the bottom of the trough. Work quickly.
IMPORTANT!
Work quickly to get the silicone onto your denture and into your mouth in about 15 seconds.
The line does not have to be neat, pretty, or perfect. Just get it onto your denture and into your mouth QUICKLY so the silicone does not start setting up outside your mouth. You need it to spread in your mouth in its most fluid state to get a proper impression for your best fit.


Step 5: Seat Denture
- If you wear an upper denture, put that in your mouth to properly seat your lower denture.
- Lightly place the lower denture onto your lower gum line and bring your back teeth together in a natural biting position. DO NOT use your fingers to seat your denture. DO NOT bite down hard and fast; all the silicone will squirt out of the area where needed.
- Quickly check your bite in the mirror. Ensure your upper two front teeth are lined up with the lower two front teeth.
- Bring your back teeth together into a “light clench” with medium pressure and hold for four minutes.

Step 6: Assess Fit
After the four minutes, assess your fit.
Is Your Lower Denture Snug?
If your denture is snug, you are done. Leave it to air dry outside your mouth for two hours (in a glass of water or cleaner) before wearing it while it is cured.
Now, click here for trimming and care instructions.
Is Your Lower Denture Not Snug?
Examine the silicone in your denture. Did the silicone flash up and over the ridge all the way around? If the silicone did not extend over the ridge at the top of the wall at any point, you may need more silicone to finish filling your voids. To fix this, click here for instructions on the Snug-Up Procedure.
If the silicone flashes all around the edges of your denture, you have filled all the voids and created a nice seal. This is likely the best fit you can achieve. If you need extra security, use powder adhesive on top of your lining.
Video
Lower Denture Application Instruction for DenSureFit
Have an issue with a “floating” lower denture?
DenSureFit will fill the voids that are making your denture loose. Even after the voids are filled, your denture may still want to “float” off the gum line. If this is your issue, use a powder adhesive to help keep your denture secured on your lower gum line.
DenSureFit user applies it to her lower denture.
Part 2 of 4
Part 3 of 4
Part 4 of 4
Need Help?
Email us! HELP@densurefit.com
Call us! 844-682-3368 Mon-Fri (8 am-5 pm, Pacific Standard Time)
Click here to read Frequently Asked Questions.
We believe DenSureFit will provide you with the best fit you’ve ever had with your dentures.
We are 100% committed to your success.
-
CAUTION
Do not use immediately following extractions. Consult your dentist before using!
-
Acrylic Dentures
DenSureFit is for use on ACRYLIC dentures. Not for use on alternative denture materials.
-
Applying over a soft professional reline?
Please follow the instructions on the “Upper Denture Snug-Up Application” page. After Step 4: look for "Variation for Applying PRIMER Over Soft Professional Reline."
Click here. -
Do you have a partial denture?
Pay close attention to the variation when seating a PARTIAL.
See "Upper Denture Reline Instructions" page, below "Step 5: Seat Your Denture."
Click here.
DenSureFit Featured Collection
-
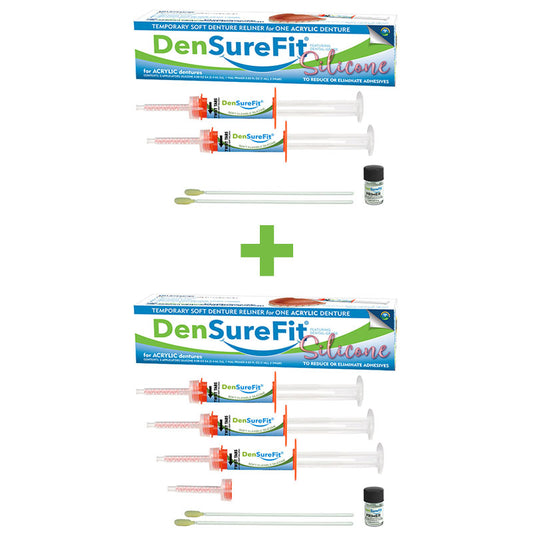
Lower+Upper Denture Reline Kit
Regular price $91.98Regular priceUnit price per$114.98Sale price $91.98Sale -
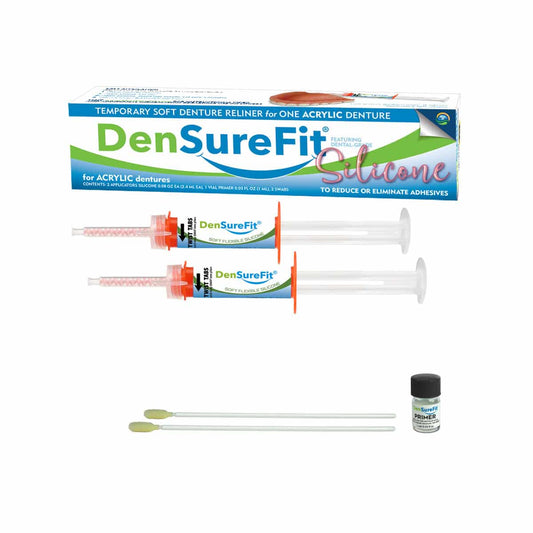
Upper Denture Reline Kit
Regular price $64.99Regular priceUnit price per -
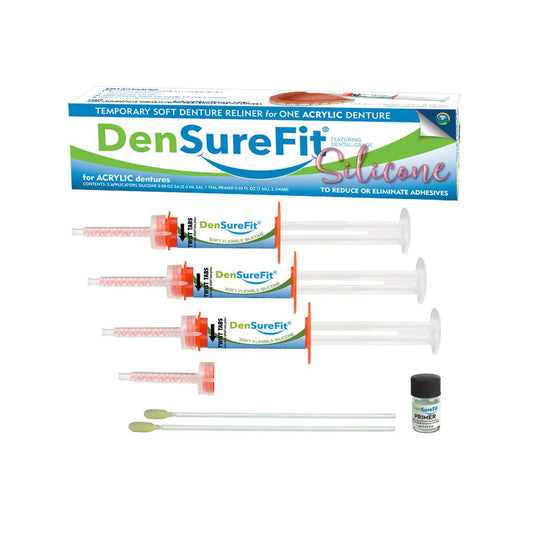
Lower Denture Reline Kit
Regular price $49.99Regular priceUnit price per -
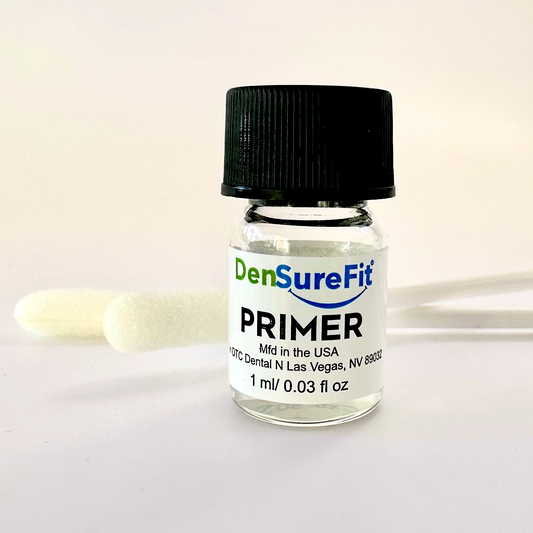
Extra Primer
Regular price $20.00Regular priceUnit price per$20.00Sale price $20.00

