Dentist-grade soft silicone denture reline material
Follow Instructions Exactly for a Successful Reline
Please review all instructions carefully before attempting your reline. The contents of the kit are intended for one denture plate.
Upper Denture Snug-Up Application
Step 1: Clean, Rinse, and Dry Your Denture
If you don’t clean and dry your denture thoroughly prior toapplication, DenSureFit will not stick!
For best results, wash your denture with dishwashing soap, dry it with a clean towel, and let it air dry thoroughly.
NOTE: Adhesives (especially waterproof types) can leave a residue on your denture. It’s essential to clean off this “invisible” residue before starting your reline. Denture cleanser is NOT sufficient for prepping your denture before relining.
After washing and drying your denture, wipe the inside with rubbing alcohol on a cotton ball until it is squeaky clean.
Step 2: Prime Bare Spots
- Prime any bare spots of hard acrylic not covered by silicone on the top of the ridge, slightly over the front of the ridge, and on the back edge of the palate. It is not necessary to prime over DenSureFit silicone. The silicone will adhere to itself without primer. DO NOT cover existing silicone with primer.
- Let the primer dry for two minutes.


Step 3: Apply Silicone to the middle of the wall above the trough
Apply silicone mid-way up the wall just above the trough area (no other location). Work quickly to get the silicone onto your denture and into your mouth.
IMPORTANT: Do not apply silicone to the palate on a snug-up or over a soft professional reline! If you do, you will overbuild the palate, ruining your fit.
How much silicone should you apply?
If a minor snug-up is needed, use half an applicator (or 1 line of silicone). If your denture is still moderately loose, use one full applicator.
Exception
Bare spots on the back edge. If the silicone has not extended to the back edge of the palate and there are bare spots of acrylic, apply a very skinny line at the back edge.
Step 4: Seat Your Denture
- Insert denture into your mouth with your thumb (finger over the nose) and give your thumb a couple of nice firm sucks so it suctions up in your suction spot.
- Set a timer and hold the denture firmly with your thumb for four minutes. Do not remove your denture during the four minutes.
- Assess fit. If it’s snug, you’re done!
- If it is not snug, examine the silicone as you did on Upper Denture Reline Instructions Step 6: Assess Fit to determine if all your voids are filled. If not, repeat the Snug-Up application using another ½ or whole applicator of silicone (depending on how much void you still need to fill).


Variation for Applying PRIMER Over Soft Professional Reline
Apply primer over all soft reline material EXCEPT on the top of the palate. You will only need to prime ¼ of the way up the palate.
Need Help?
Email us! HELP@densurefit.com
Call us! 844-682-3368 Mon-Fri (8 am-5 pm, Pacific Standard Time)
Click here to read Frequently Asked Questions.
We believe DenSureFit will provide you with the best fit you’ve ever had with your dentures.
We are 100% committed to your success.
-
CAUTION
Do not use immediately following extractions. Consult your dentist before using!
-
Acrylic Dentures
DenSureFit is for use on ACRYLIC dentures. Not for use on alternative denture materials.
-
Applying over a soft professional reline?
Please follow the instructions on the “Upper Denture Snug-Up Application” page. After Step 4: look for "Variation for Applying PRIMER Over Soft Professional Reline."
Click here. -
Do you have a partial denture?
Pay close attention to the variation when seating a PARTIAL.
See "Upper Denture Reline Instructions" page, below "Step 5: Seat Your Denture."
Click here.
DenSureFit Featured Collection
-
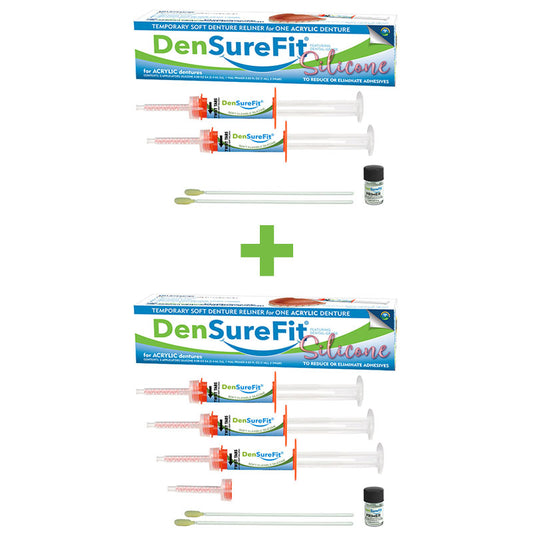
Lower+Upper Denture Reline Kit
Regular price $91.98Regular priceUnit price per$114.98Sale price $91.98Sale -
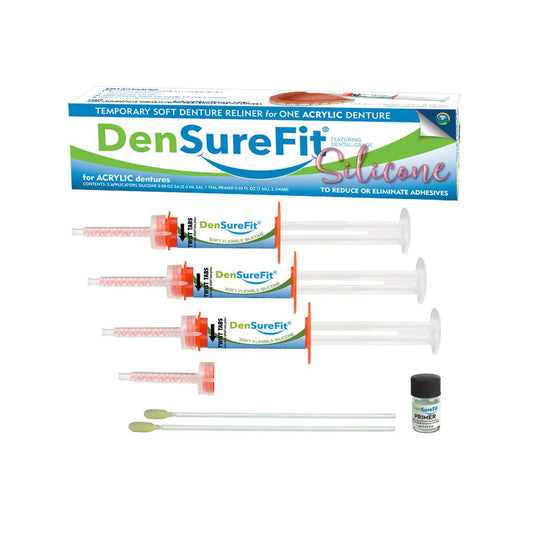
Upper Denture Reline Kit
Regular price $64.99Regular priceUnit price per -
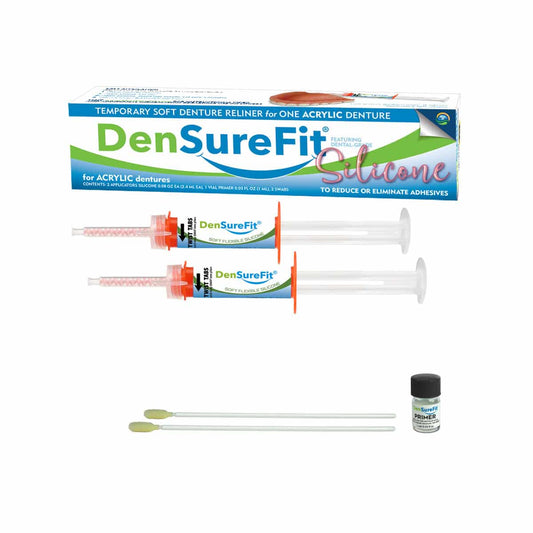
Lower Denture Reline Kit
Regular price $49.99Regular priceUnit price per -
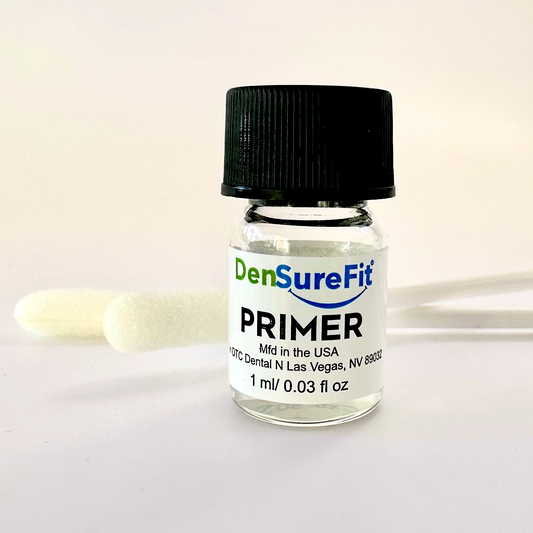
Extra Primer
Regular price $20.00Regular priceUnit price per$20.00Sale price $20.00


