Dentist-grade soft silicone denture reline material
Follow Instructions Exactly for a Successful Reline
Please review all instructions carefully before attempting your reline. The contents of the kit are intended for one denture plate.
Lower Denture Snug-Up Application
DenSureFit silicone is buildable. If your denture gets loose after a good initial fit and your liner is in good condition, you can layer more silicone on top of your existing liner.
Step 1: Clean and Dry Denture
- Ensure your denture is perfectly clean and dry as you did in your initial application.
- Wipe down the inside of the denture with rubbing alcohol and let dry.
Step 2: Prime Bare Spots
- Dip a cotton swab (not the swab we provided) into the primer and use that to prime any bare spots of hard acrylic on the ridge and slightly over the ridge. The cotton swab is necessary because you need very little primer to prime bare spots. The foam swab in your kit will use more primer than you need. Do not cover existing DSF silicone with primer. It will not harm the silicone; it is just not necessary because the silicone will adhere to itself without the primer.
- Let the primer dry for 2 minutes.

Step 3: Apply Silicone
Apply silicone mid-way up the inner and outer walls just above the trough area (no other location). Work quickly to get the silicone onto your denture and into your mouth. This is especially important for the Snug-Up application because the thinner the lines of silicone are, the faster it will set up. If you take too long, the new layer will set up and not meld with the previous layer of silicone.
![]()

Step 4: Seat Denture
- If you wear an upper denture, put that in your mouth to properly seat your lower denture.
- Lightly place the lower denture onto your lower gum line and bring your back teeth together in a natural biting position. DO NOT use your fingers to seat your denture. DO NOT bite down hard and fast; all the silicone will squirt out of the area where needed.
- Quickly check your bite in the mirror. Ensure your upper two front teeth are lined up with the lower two front teeth.
- Bring your back teeth together into a “light clench” with medium pressure and hold for four minutes.

Don’t Wear Your Newly Relined Denture For Two Hours!
After you have achieved a snug fit, let your newly lined denture finish curing for two hours outside of your mouth (it can be placed in water or cleaner). It is not necessary to wait two hours between applying snug-up layers.
Need Help?
Email us! HELP@densurefit.com
Call us! 844-682-3368 Mon-Fri (8 am-5 pm, Pacific Standard Time)
Click here to read Frequently Asked Questions.
We believe DenSureFit will provide you with the best fit you’ve ever had with your dentures.
We are 100% committed to your success.
-
CAUTION
Do not use immediately following extractions. Consult your dentist before using!
-
Acrylic Dentures
DenSureFit is for use on ACRYLIC dentures. Not for use on alternative denture materials.
-
Applying over a soft professional reline?
Please follow the instructions on the “Upper Denture Snug-Up Application” page. After Step 4: look for "Variation for Applying PRIMER Over Soft Professional Reline."
Click here. -
Do you have a partial denture?
Pay close attention to the variation when seating a PARTIAL.
See "Upper Denture Reline Instructions" page, below "Step 5: Seat Your Denture."
Click here.
DenSureFit Featured Collection
-
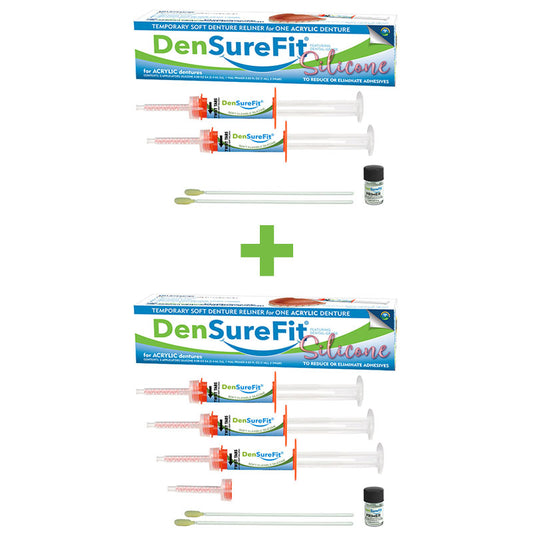
Lower+Upper Denture Reline Kit
Regular price $91.98Regular priceUnit price per$114.98Sale price $91.98Sale -
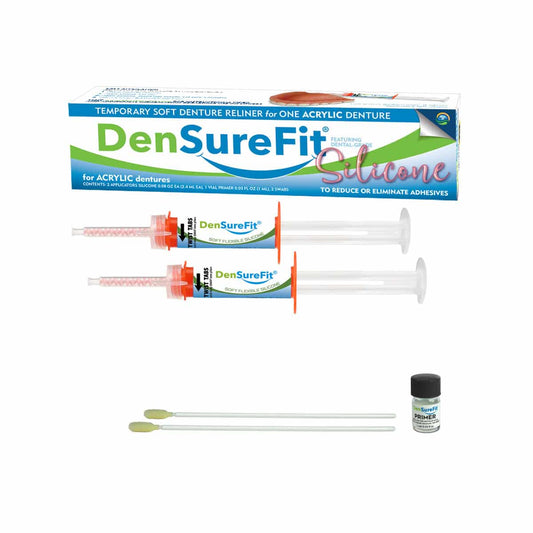
Upper Denture Reline Kit
Regular price $64.99Regular priceUnit price per -
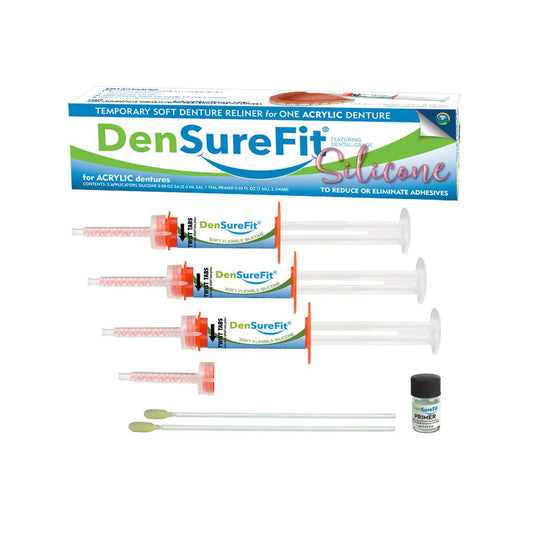
Lower Denture Reline Kit
Regular price $49.99Regular priceUnit price per -
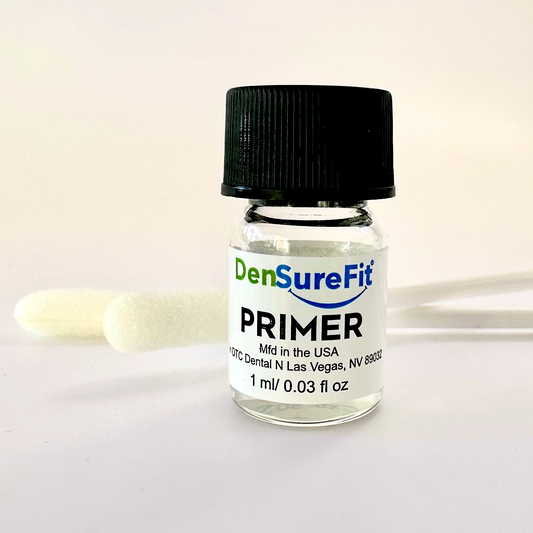
Extra Primer
Regular price $20.00Regular priceUnit price per$20.00Sale price $20.00


